|
Home
Search
Site Map
Table of Contents
Our Bikes
Technical
Local Suzuki Dealer
Events
Links
Winston Cup Garage Pictures
Bitch Page
Comment and Email
| |
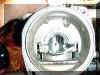
Thunder Manufacturing Stage III Air/Jet Kit
for the LC1500
|
First off let me point you to a site that has excellent
documentation and photos of the Jet Kit install. After viewing this site, I
decided to link it and just add any insights I may have from my jet kit
installs on Kathy's and my bike. Many thanks go to Helfyr for taking the
time to document the process so well.
HELFYR's Motorcycle Web Page
Major Oops
Here is a major oops I ran into, and you
may also. Removing/Installing the needle retainers inside the slides may
break the little fingers that grasp the "O" ring on the retainer. If you do
break it, you will have to buy a new slide(s), and your bike will be down. I
am still waiting on the second slide, and it is going on three weeks. This
happened to Wes and I on re-installing the retainers on my bike. It seems
that on the LC's, that are a couple years old, these "O" Rings dry out. Just
for reference, my LC is a 1999, and had close to 16,000 miles on it at the
time of the install.
To prevent this from happening to
you, spray the inside of the slides with WD40 before removing the needle retainers. Use lot's of it, so you can be sure that the
"O" Rings
get
lubricated. Then before inserting the needle retainers after assembling the
new needles, coat the "O" Rings with Vaseline.
|
 |
Work Around
As a work around, should you break
one or more of the four fingers in the slide, you can still proceed with the
install. Just follow the directions on the needle assembly, remember the
front and rear carburetors use different needles. You will be locking the
needles in place with fuel proof epoxy or JB weld for fuel tanks, so get it
right the first time. Remove the billows from the slide and insert the
needles as instructed. Then insert the slide(s) with needles into the proper
carburetor, guiding the needles into the metering hole. Having a helper at
this point, is really helpful. Have the assistant reach into the carburetor
and make sure the needle is seated in the metering hole, and the slide is
held up so that the needle is also bottomed out in the slide.
We used Super Glue to tack the needle in
place. Then followed up with JB Weld for fuel tank repair. But, if you can
get fuel proof epoxy, this may be a better choice. I think that one of my
needles may have came loose, do to a decrease of fuel mileage from 31-33 to
28 per gallon. Interesting is the fact that machine still runs great in all
ranges. Since the whole operation is trapped inside the slide, no debris can
enter into the engine. I will diagnose the problem once my slide arrives. By
the way the price on the slide is $31.95 USD, plus all the little crap
needed.
Follow up: Nether needle
had came loose. The JB weld has held for over a month. The new slides fit
correctly, but see below for parts that did not fit.
|
|
|
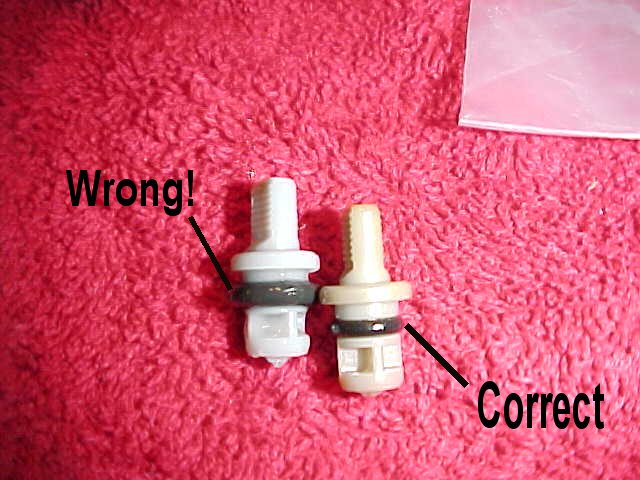
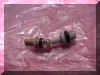
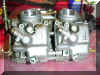
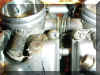
Warning!
Note: I did receive the incorrect
"O" rings from Suzuki. Warning: these incorrect "O" rings will break your
slides! They are to big on the outside diameter. Look at the pictures to
the left carefully and you will see the difference. I caught it before
hand, so no damage done.
|
 |
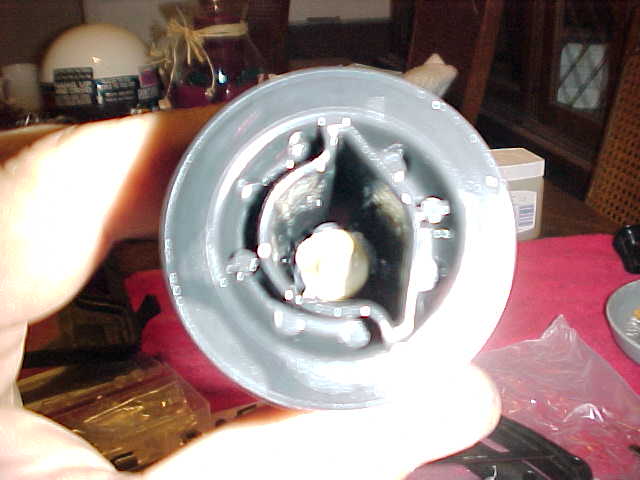
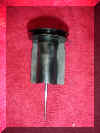
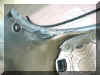
New Slide Arrived
The slide has arrived and I
have done the repairs. The needles were still in place and nothing had came
loose. The only thing I can guess is either I am getting some bad gas, or
the brass needle seats
in the Carburetor them self's are damaged from our make shift repair. The
picture I took of the needle
seats did not show the brass seat inserts very well. But, I thought
that I saw a little deformation, which I can only verify by riding and
checking the mileage. |
 |
Ride Test
Ride test is done, and here are
the results. The 165 main jets that work so well on the 2001 LC's is a
little lean on the 1999 model. I switched back to the 170 main jets
recommend by Thunder. Ah, much better, allows machine to continue to pull all
the way up to the rev limiter. The bike has a little more idle flutter
than Kathy's with the same jet kit and needles
settings. Probably the
needle seat thing I referred to above. I moved the needle clips up one
notch on both the front and rear. Which lowers the needles, and that seemed to
give the same amount of flutter as Kathy's 2001
LC. The mileage is now back up to 32 MPH. Performance in all the ranges is
good. I did loose a little throttle response do to lowering the needles one
notch. But, still faster response than the stock form.
|
 |
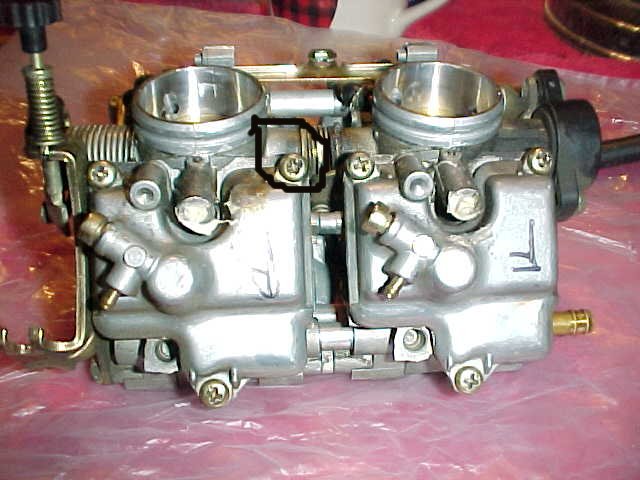
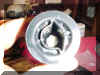
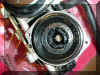
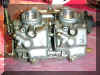
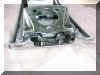
FYI
I would suggest that the bowl
screws be replaced with stainless Allen head screws. You will find that
the screws try to round off when removing. I believe this is because of
the dissimilar metals (Steel Screw into cast aluminum. The pictures to the
left explain it all.
|
|
|
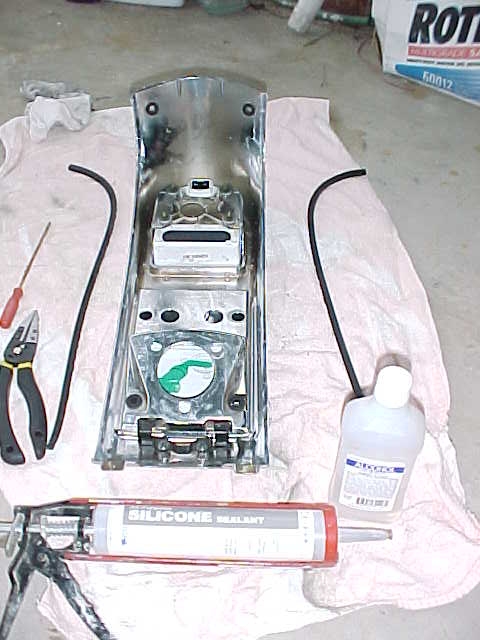
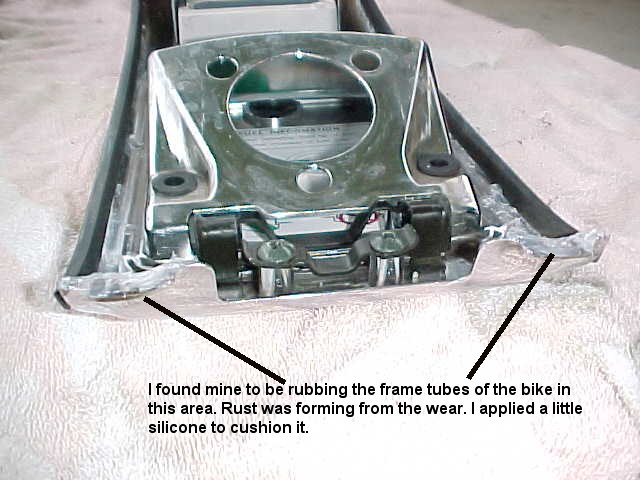
TiP
You
may want to silicone the rubber trim pieces in to make assembly easier for
future Air Cleaner cleaning session. This will also help when you remove the
tank shell's for spark plug replacing. At this time I plan on a 8,000 mile
interval on cleaning the K&N filters and replacing the spark plugs at the
same time. Depending on your riding conditions, this may be to long an
interval. |
|